
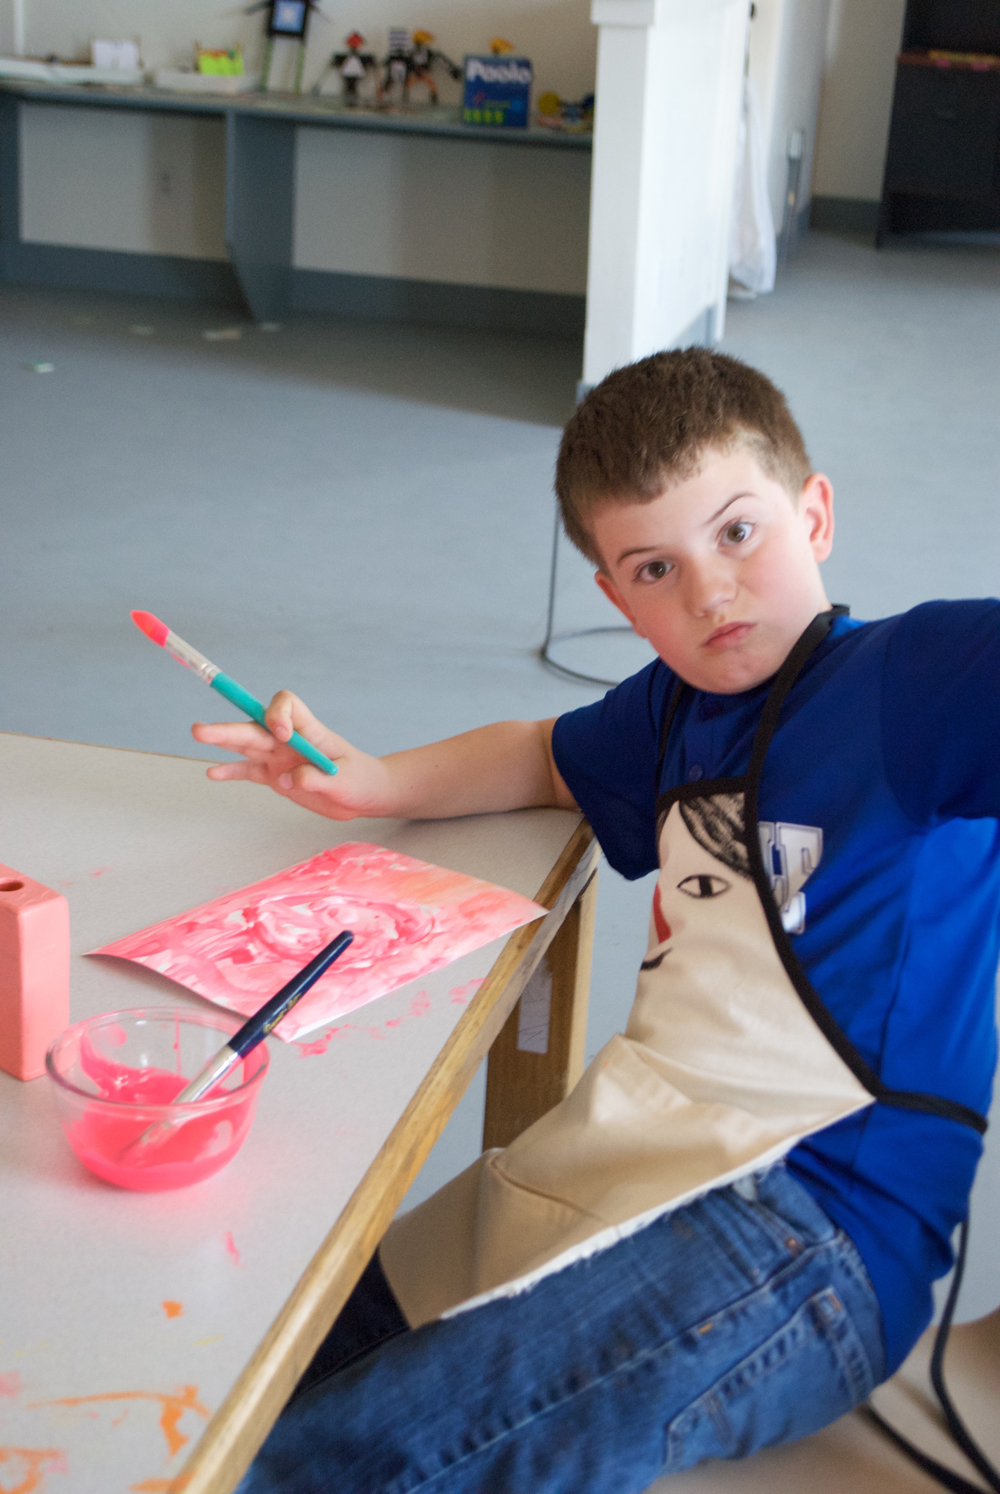
For our Painting and Printmaking Unit in Kids Craft Camp we worked on becoming familiar with paints (primarily acrylic) while learning various fun techniques and processes such as using glue + pastels as a resist, a salad spinner for some fun spin art and even introduced the kids to printmaking by using foam and cardboard. Follow along as we share what we did for each project in this unit.

Beginning Printmaking:
Materials:
- adhesive backed craft foam
- cardboard
- paint/brushes
- printmaking roller
- paper

To make craft foam prints:
- Cut craft foam into various random shapes and stick onto the cardboard
- Paint the various shapes of foam with different colors of paint
- Then quickly place a sheet of paper over the top and used a roller to transfer the paint onto the underside of the paper
- Lift the paper and you will see your first print!
- Repeat steps 1-4 using different paint colors to create several prints from the same work of art to share with friends or sell at an art sale!


Salad Spinner Art! (a never fail crowd pleaser)

Materials:
- salad spinner
- thick paper such as watercolor paper cut into squares small enough to fit into the salad spinner
- acrylic or tempra paints

Making the Spin Art:
- Open up the salad spinner and place the paper inside
- Drop 2 to three colors of paint onto your paper
- Close the lid of the salad spinner and spin by pulling the cord (or by spinning on the outside depending on which type of salad spinner you have.
- Once the spinning has stopped you may remove the lid and see your new spun painted work of art!


Watch a video on the spin art from camp here:


Pastel and Glue resist techniques with Acrylics:
Materials:
- watercolor paper
- acrylic paints/brushes
- glue (we love yoobi’s liquid glue. Goes on smooth – making it easy to draw with)
- oil pastels

Glue Resist Technique:
- Using liquid glue draw or create a design on your paper. let it dry.
- Once the glue has dried come back to it with watered down acrylic paints (which sort of act like opaque watercolors) and create washes over the glue drawing
- Let it dry. go over other areas with another color if you wish.

Pastel + Acrylic Painted Party Banners:

The kids helped to paint and put together a lion piñata (inspired by the tiger piñata from my book Playful) for a piñata party on the last day of class (more on the piñata in my next post). I thought it would also be fun if they helped to make a party banner while learning more painting techniques in the process.
- Cut up sheets of watercolor paper into smaller rectangles
- Using an oil pastel, draw patterns, shapes, designs, etc. onto the paper
- Paint over the oil pastel using watered down acrylic paints. You can also play around with more opaque versions to see how the pastel comes through in varying ways depending on the color and opacity of the paint
- Let the paint dry. String the rectangles together by running each sheet through a sewing machine, leaving long strands of thread at each end.
- Tape up your newly kid painted banner and get ready for piñata popping party!!


A Note:
These last few painting techniques (spin art, glue resist and pastel + acrylic paint) are more process art oriented – meaning that the point of the activity is geared more towards becoming familiar with the medium/paint, textures, colors, patterns and ones own inclinations. It’s also really soothing and relaxing as there is not right or wrong way to do it. I think it’s important to do a combination of instructional art, step-by-step crafts (with encouragement for the child to make it their own) and freestyle process art with kids. We tried to do a little bit of everything in our 3 hour block each day to diversify and keep the kids interest. For example if one of the activities was geared towards teaching them a new skill that took a bit more thought and effort, I’d try to follow it with a more freestyle process art activity to relax the brain a bit while they just enjoyed color, texture, etc. Each type of experience benefits the child in important and different ways.


Oh and I have to end on this cute pic of my niece Annika. She was my assistant for the first Kids Craft Camp and she was amazing. So great with the kids and so helpful.
And on that note, next week is our next and last summer Kids Craft Camp! (but remember you can always go to our online camp on Atly anytime of the year).
And if all goes well we might have a fall and winter camp and then I have great plans for a parent camp before Christmas where we all get together and play Santa’s workshop and make toys for our little ones! How awesomely fun would that be?!!! Oh I have holiday tunes in my head now just thinking about it! Eeek!